

This blog explores the process of uploading images to WordPress using Make.com, focusing on both featured and in-content images. By leveraging Airtable, I’ll guide you through a streamlined automation setup that can enhance your blogging workflow.
Introduction to Image Upload Automation
I created an automation that simplifies the process of uploading images to WordPress. This setup uses Airtable to manage image storage. It allows me to upload both featured images and in-content images efficiently. By automating these tasks, I save time and reduce the potential for errors that can occur with manual uploads.
Understanding the Workflow
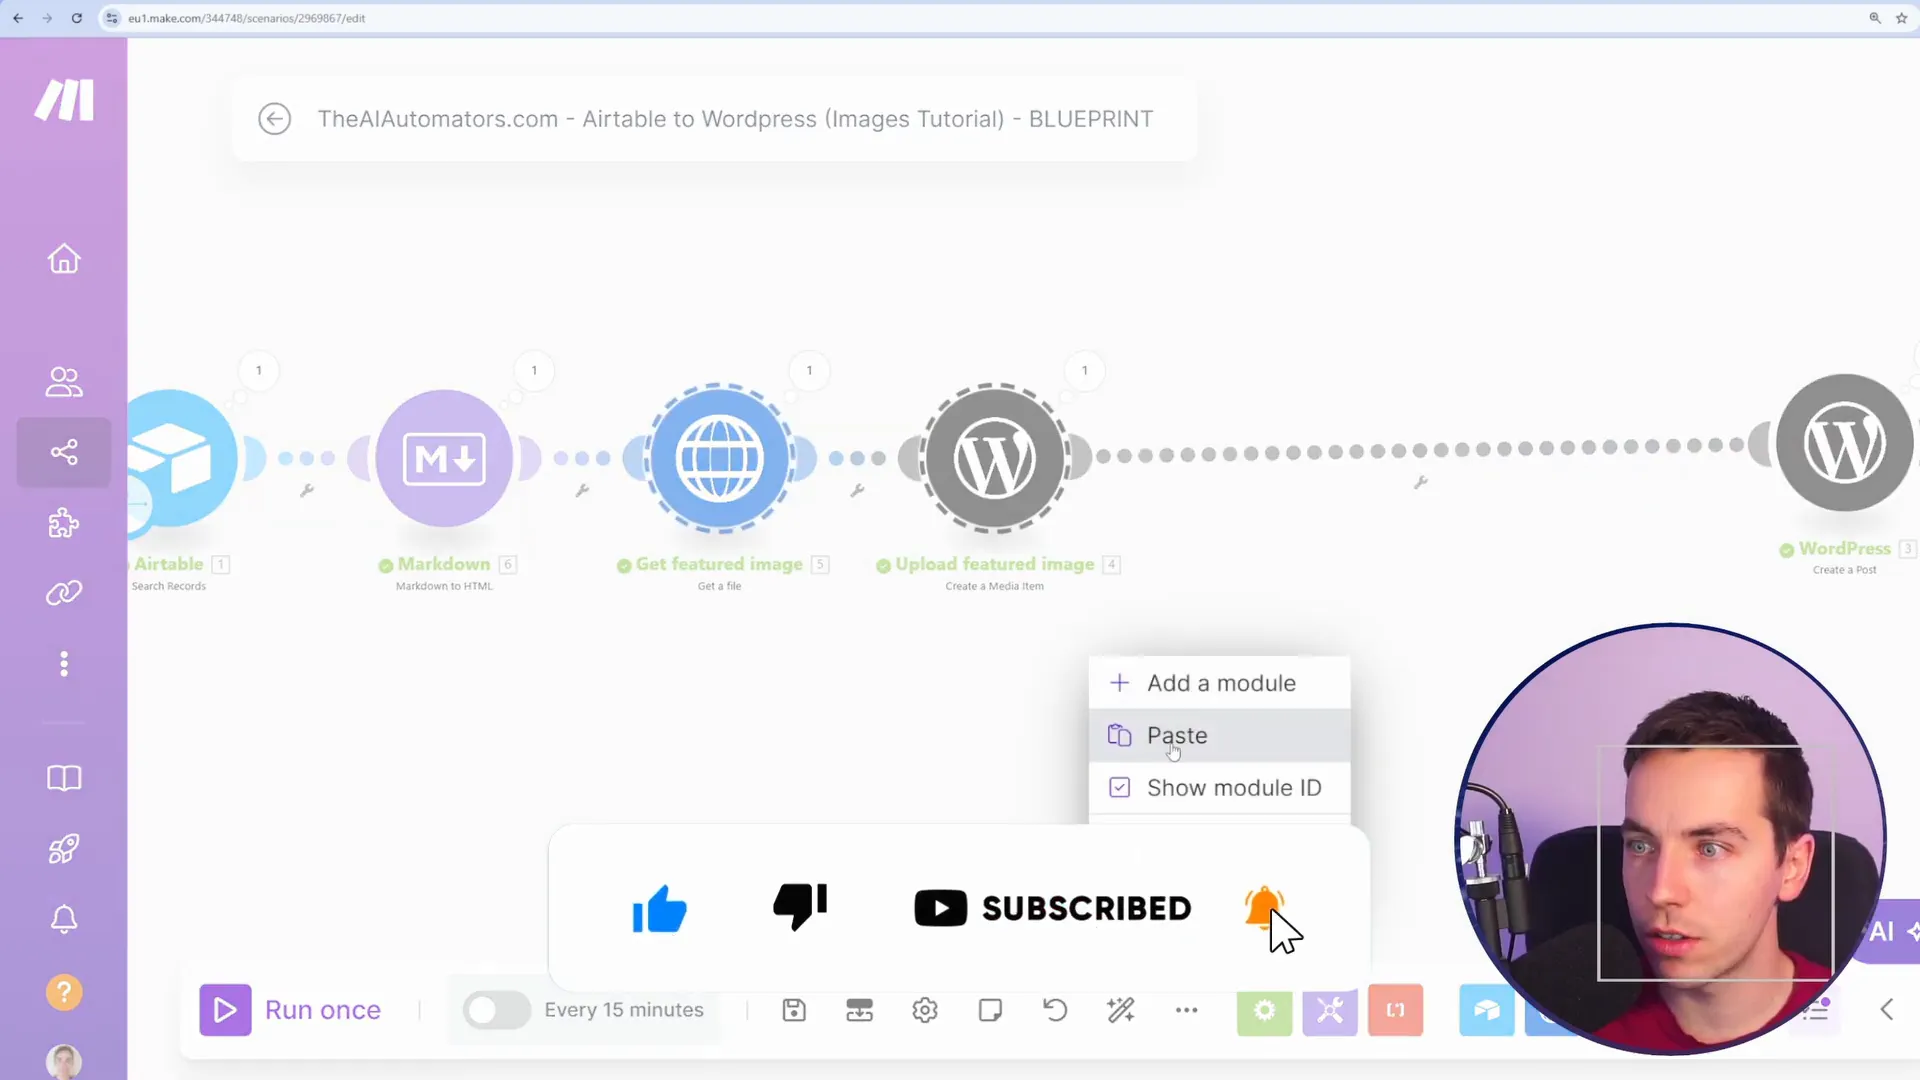
This automation works by connecting Airtable and WordPress through Make.com. Once I mark an article as published in Airtable, the automation triggers and uploads the corresponding images to WordPress. It ensures that images are properly assigned to their respective posts without any manual intervention.
Setting Up Airtable for Image Management
Setting up Airtable as the backbone of this automation is straightforward. I start by creating a base that contains essential information about each article, including the article title and status. The status indicates whether the article is ready for publication.
Creating the Airtable Base
- Open Airtable and create a new base.
- Add fields for the article title, status, featured image URL, and content image URL.
- Ensure the status field includes options like “Draft” and “Published to WordPress.”
Populating the Base
Next, I fill in the base with the necessary data. Each article should have its title and corresponding image URLs. When ready, I change the status to “Published to WordPress” to trigger the automation.
Creating a WordPress Post
The next step involves creating a new post in WordPress. This is where the automation takes the data from Airtable and uses it to generate a post automatically.
Connecting to WordPress
I start by selecting the WordPress module in Make.com. I then create a new post and map the article title from Airtable to the WordPress post title. This connection is crucial as it ensures that the correct content is published.

Mapping the Article Content
The content of the article also comes from Airtable. I ensure to include all necessary details, such as the text and any other relevant information. It’s essential to format this content appropriately so that it displays correctly on the WordPress site.
Uploading Featured Images
Uploading featured images is an important part of this automation. The featured image is often the first visual that readers see, making it essential for engagement.
Getting the Featured Image URL
In the automation, I retrieve the URL for the featured image from Airtable. This URL is then used to upload the image to WordPress. It’s crucial to ensure that the URL is correct to avoid any errors during the upload process.

Creating the Media Item
Once I have the URL, I create a media item in WordPress. This step involves mapping the image data and ensuring that the image is stored correctly on the site. I also need to give the image a unique filename. This prevents any existing images from being overwritten.
Handling File Names
To create a unique filename, I combine the article title with the current date and time. This method ensures that each image has a distinct name, reducing the risk of conflicts. I append the appropriate file extension as well.

Handling In-Content Images
In addition to featured images, I also upload images that are included within the body of the article. These images enhance the content and provide visual breaks for readers.
Getting the Content Image URL
Just like with the featured image, I retrieve the URL for the content image from Airtable. This URL is used in a similar manner to ensure that the image uploads correctly to WordPress.
Uploading the Content Image
After obtaining the URL, I proceed to upload the content image to WordPress. This step is crucial as it integrates the image within the article seamlessly. I ensure the automation correctly captures the media ID of the uploaded image.
Embedding the Image in the Post
Finally, I embed the uploaded image into the post content. I use a simple HTML image tag to display the image within the text. This step is vital for ensuring that readers can see the images as they read through the article.

Finalizing the Post
Once both the featured and in-content images are uploaded, I run the automation to publish the post. This process ensures that all elements are correctly placed and ready for readers to view.

Finalizing the Automation
With the images uploaded and the post created, I can now finalize the automation. This involves ensuring that everything runs smoothly and updating the Airtable record to reflect the changes. By marking the article as published, I prevent the same content from being pushed to WordPress multiple times.
Updating Airtable Status
At the end of the automation, I select the Airtable module to update the record’s status. This way, once the images and post are successfully uploaded, I change the status to “Published.” This simple step is crucial for maintaining an organized workflow.

Testing the Automation
After setting everything up, I run the automation to test it. This allows me to check that both the featured and in-content images are uploaded correctly and that the post appears as intended on my WordPress site. Troubleshooting any issues at this stage can save time later.
Key Takeaways from the Automation Process
This automation process highlights several key aspects that can streamline image uploads to WordPress. First, leveraging Airtable for image management simplifies tracking and organizing content. Second, using Make.com allows for a flexible and efficient workflow.
Benefits of Automation
- Reduces manual work and errors in image uploads.
- Ensures consistency in file naming conventions.
- Updates Airtable automatically to maintain an accurate status of articles.
Importance of Unique Filenames
Creating unique filenames for images is vital. This practice prevents overwriting existing images and keeps the media library organized. By appending the current date and time, I can ensure that each file remains distinct.
Troubleshooting Common Issues
Even with a well-structured automation, issues can arise. Here are some common problems and their solutions.
Image Upload Failures
If an image fails to upload, check the URL in Airtable. Ensure that the link is correct and accessible. Sometimes, network issues can also affect uploads.
Incorrect File Naming
In case of file naming conflicts, verify that the automation is set to generate unique names. If necessary, adjust the naming convention in the Make.com scenario.
Airtable Status Not Updating
If Airtable isn’t updating the status, confirm that the module is correctly linked at the end of the automation. Ensure that the correct record ID is being referenced.
Exploring Advanced Blogging Automations
Once I have the basics down, I can explore more advanced blogging automations. These can include generating articles section by section or integrating AI tools for content creation.
Building Articles with AI
Using OpenAI’s models, I can automate the writing process. This means generating sections of an article based on specific prompts. Such advanced automations can significantly enhance productivity.
Incorporating Multimedia
I can also add various media types, such as videos and audio files, directly into the posts. This creates a richer experience for readers. The automation can be adjusted to include these elements as needed.
