
Claude Design can create surprisingly good motion graphics in a matter of minutes. I can describe a character, a movement, a burst of confetti, a glow, and a shadow, then refine all of it through a simple chat. The difficult part comes at export.
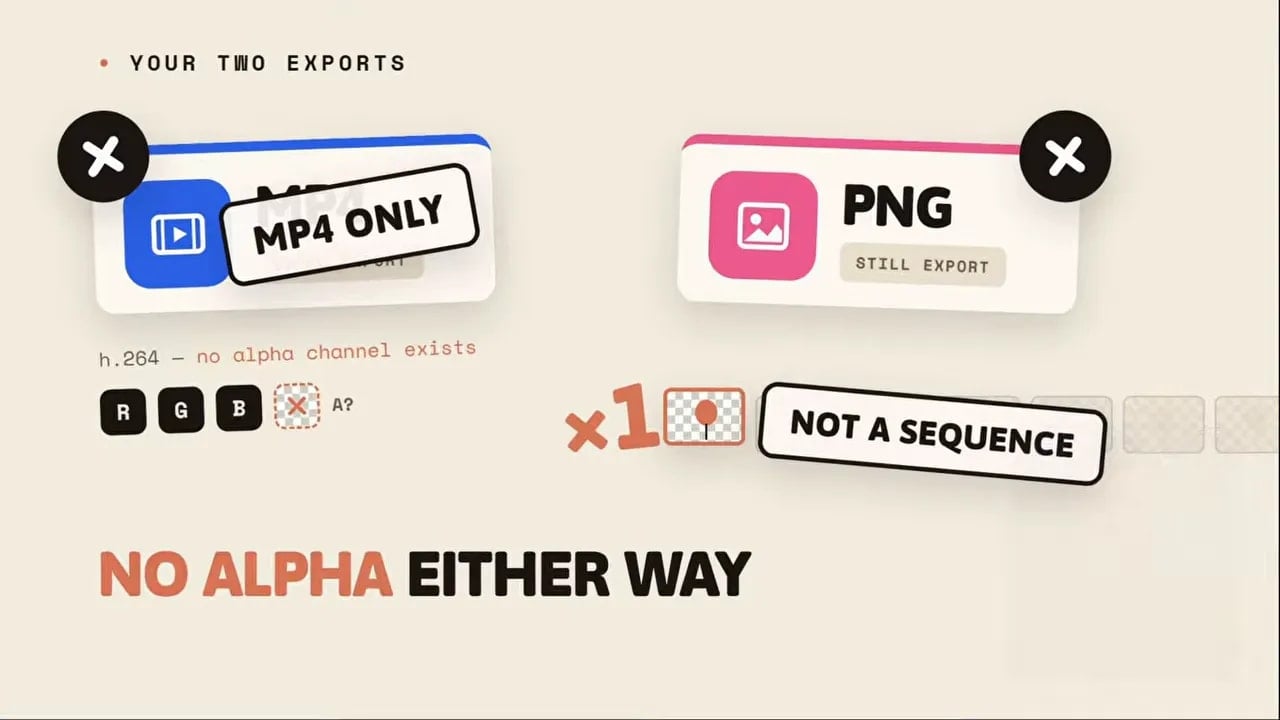
Right now, Claude Design exports video as MP4. That works perfectly well for a full-screen animation. It doesn’t work when I need the animation to sit over footage, a web page, or another changing background. The MP4 has no alpha channel, so the supposedly transparent area becomes a solid black box.
The built-in PNG option has a different limitation. It exports one selected still image, rather than every frame of the animation. A single PNG can preserve transparency, but it can’t preserve motion.
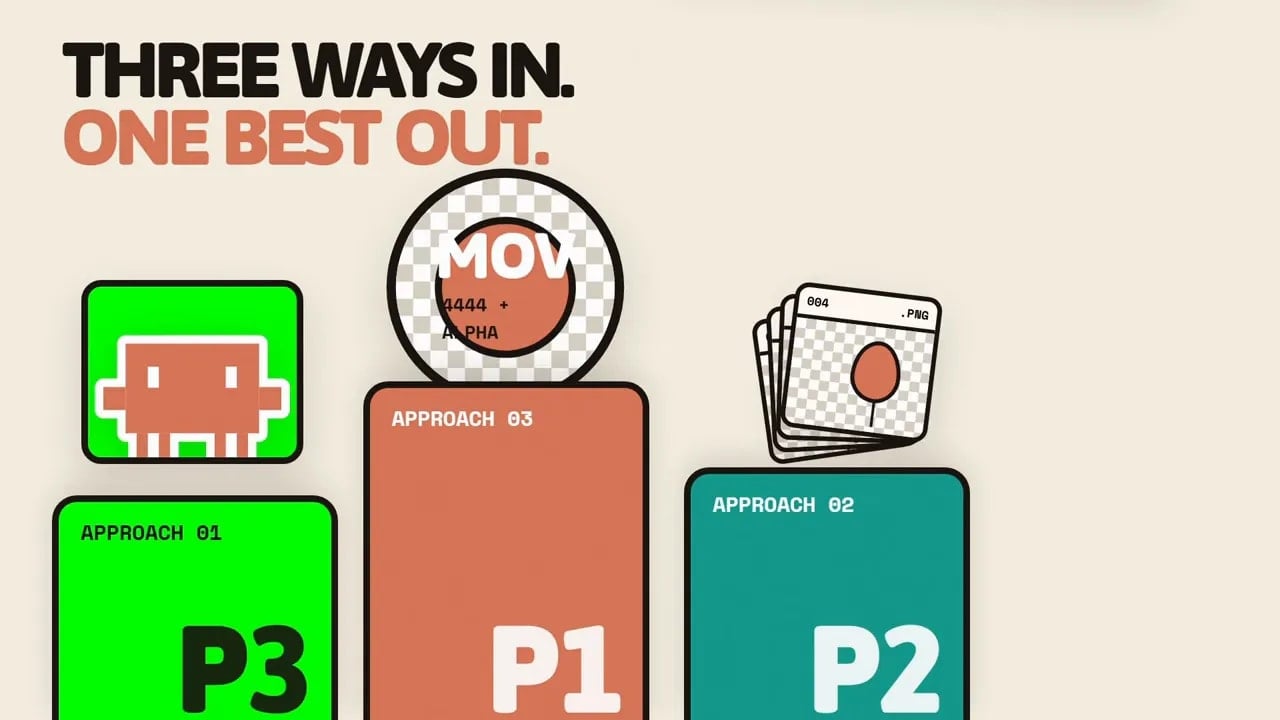
I tested three practical ways to solve this. One is fast and good enough for many video edits. One produces a sharp transparent animation from image files. The last produces real transparent video files for both editors and websites, and it is the option I would choose for regular production work.
First, decide whether you actually need transparency
It is easy to overcomplicate this. Transparency matters only when an animation needs to layer over something else. If the animation fills the entire frame, I can export a normal MP4 from Claude Design and use it as-is.
For example, a full-screen title sequence, animated slide, transition, or product scene doesn’t need an alpha channel. The animation replaces everything behind it, so the normal MP4 export is fine.
Transparency becomes essential when I want a graphic to coexist with another visual layer. Common examples include:
- Lower thirds beside a presenter
- Arrows, buttons, callouts, and social graphics
- Small animated characters entering a video frame
- Product labels or annotations over footage
- A mascot floating over a website hero section
- An animated product over a background that changes color
- Confetti or a celebration graphic after checkout
An alpha channel is the part of a media file that tells an editor or browser which pixels should remain clear. Standard color video has red, green, and blue information. A video with alpha has an extra transparency layer as well. That is what lets a soft shadow fade naturally into the footage below it, rather than sitting inside a dark or green rectangle.
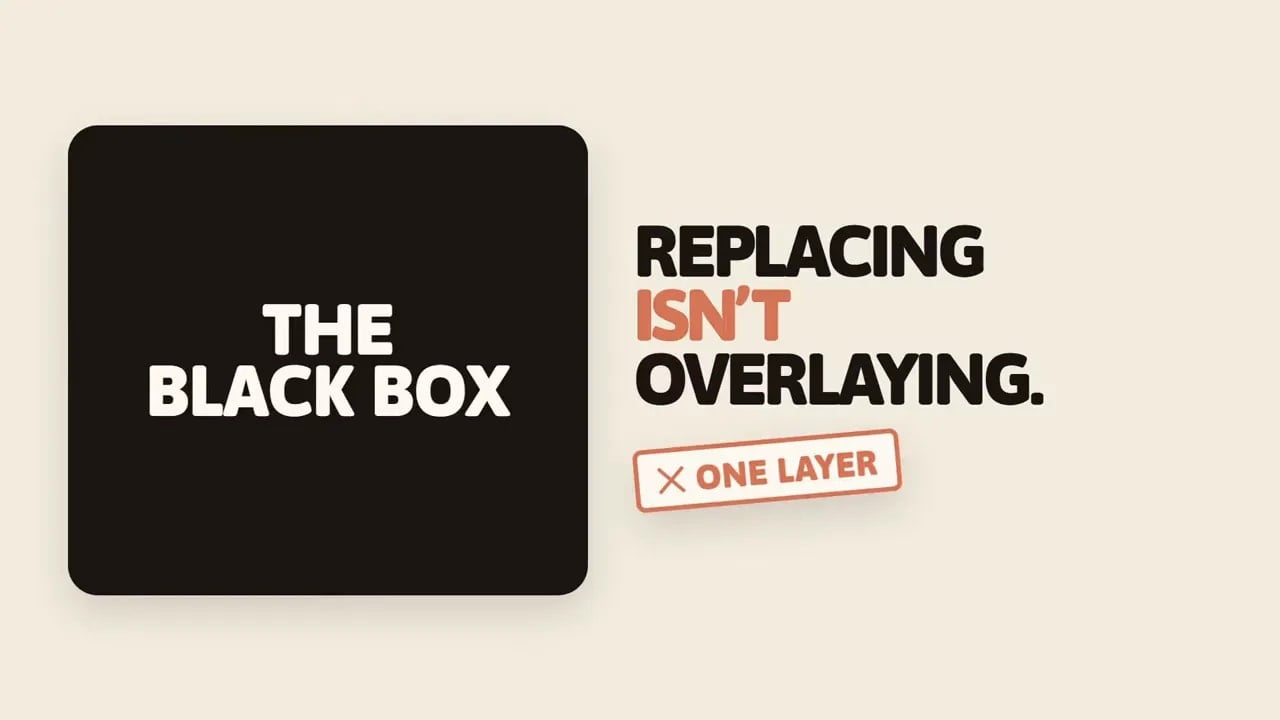
The test is simple. Ask whether the animation replaces the background or sits on top of it. If it sits on top, transparency matters.
Create the overlay animation in Claude Design
I started with a simple five-second overlay animation. I attached a reference image of a Claude Code-style character, then asked Claude Design to animate it into the lower-right of a 16:9 canvas.
The character holds an orange balloon. It floats into position, the balloon expands, then bursts after three seconds and releases orange confetti. I asked for a soft drop shadow and a warm orange glow around the character and balloon.
For this kind of project, the wording of the prompt matters. I made two requirements very clear:
- This was an overlay animation.
- The rest of the canvas had to be fully transparent, with no background, frame, or caption.
That instruction helps Claude Design produce the right composition. Empty areas stay empty. The main asset can enter from a corner, sit beside a face, or occupy a small region without forcing the rest of the composition to change.
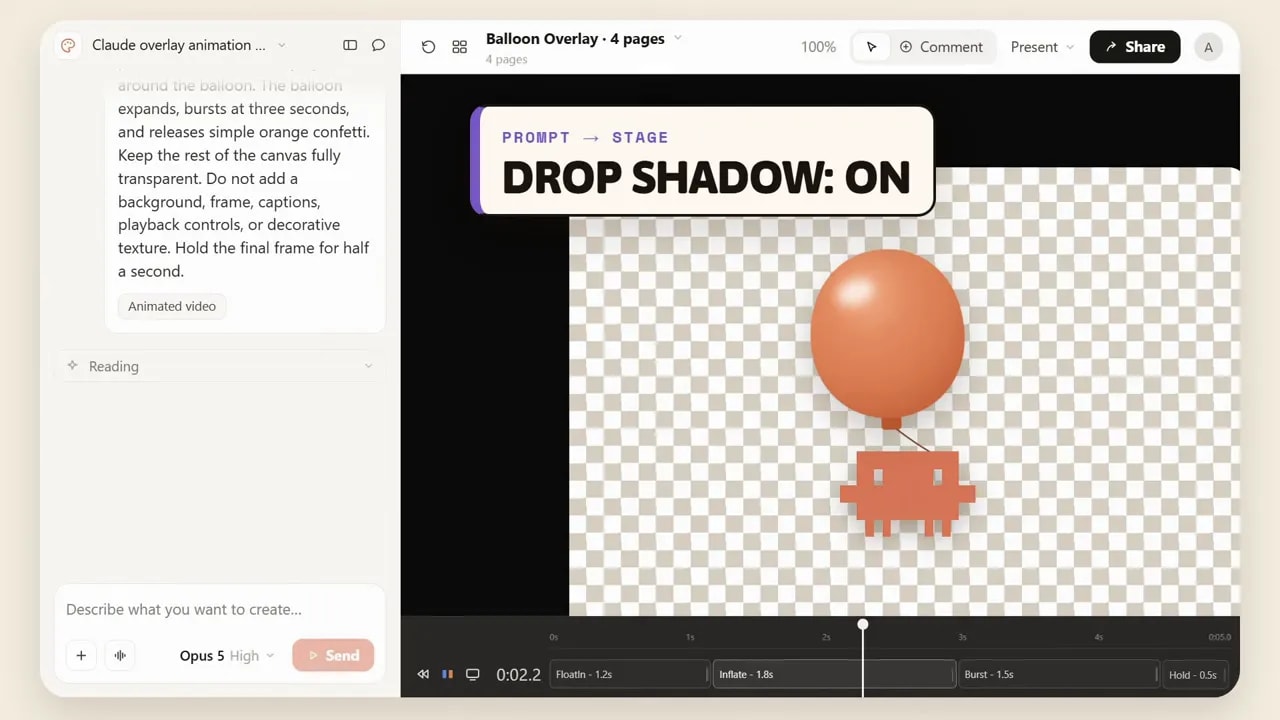
Shadows and glows are worth requesting early. They add depth and help the asset feel integrated once it sits over footage. They also expose the main export problem. Those soft edges need true transparency to look their best.
Once the animation is generated, I can adjust position, size, timing, color, and movement with follow-up instructions. The creation side is not the issue. The issue starts when I click Share and select video.
Why Claude Design’s normal exports fall short for overlays
Claude Design currently gives me an MP4 video export. MP4 does not carry a transparent alpha channel here. If I put that export above video footage, the transparent-looking region becomes black.
The PNG export avoids the black background because PNG supports transparency. But it exports one still frame. It does not create a numbered sequence of frames that an editor can interpret as an animation.
That leaves three ways around the limitation:
- Generate a green-screen version and chroma key it in the editor.
- Ask Claude Design to build a custom transparent PNG sequence exporter.
- Send the project to Claude Code and create proper alpha video files.
Each method has a place. The right choice depends on the quality you need, the software you use, and whether this is a one-off animation or a repeatable workflow.
Method 1: Use green screen for the fastest video overlay
The quickest workaround is to replace the transparent canvas with a solid green background, export an MP4, then remove the green in a video editor. This is standard chroma key workflow.
I asked Claude Design to replace the transparent background with a bright green color, using the hex value #00FF00. I also told it to preserve every other part of the animation exactly as it was:
- Keep the character and balloon unchanged
- Keep the animation timing unchanged
- Keep the soft drop shadow
- Keep the orange glow
- Change only the empty background area to green
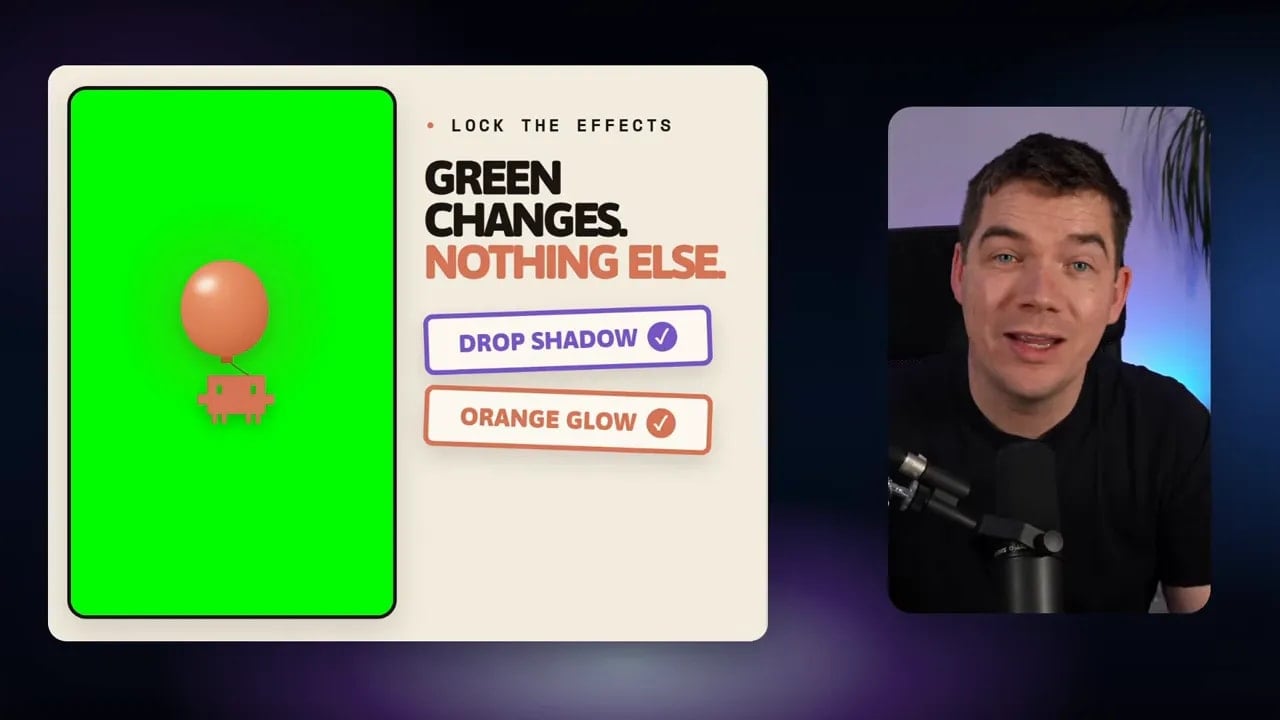
That produces an ordinary MP4 file, which I exported at 1080p. I placed it on a video track above my footage in DaVinci Resolve.
Remove the green in DaVinci Resolve
In DaVinci Resolve, I used the 3D Keyer Resolve FX. Before selecting the green, I enabled Open FX Overlay. Then I sampled the green background to key it out.
The result worked immediately in the broad sense. The character appeared over the footage, and the green background disappeared. This is why chroma key is still such a useful shortcut.
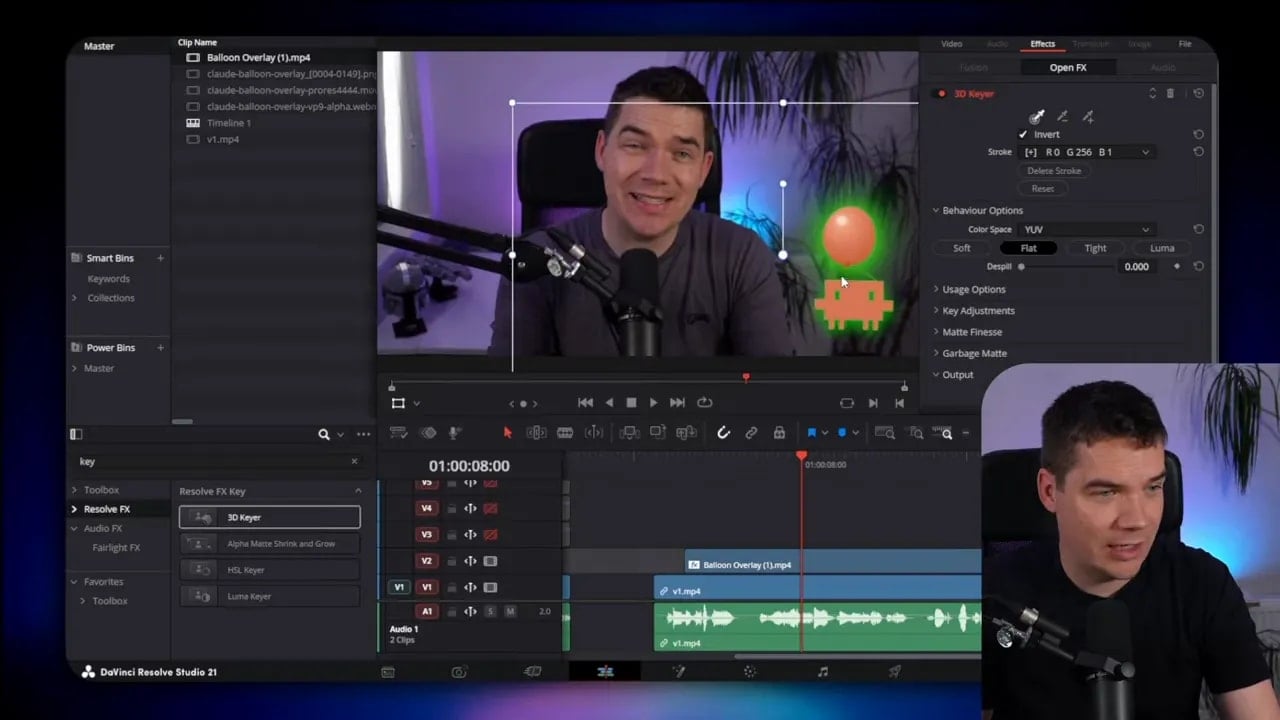
There is a catch. The green background affects soft semi-transparent pixels around the asset. A glow, gradient, motion blur, or soft shadow can retain traces of green after keying. In my test, the character had a visible green tint around the orange glow.
I could improve it using the 3D Keyer’s controls. I selected a soft behavior setting and used despill to remove more green from the edges. The result looked about 98% right. For many social posts, quick explainers, and short edits, that is completely usable.
It is still not perfect. The remaining issue is not really DaVinci Resolve’s fault. Green screen is an approximation of transparency. It works best with clean, hard-edged graphics. It is less convincing when the design relies on gentle shadows and glows.
If I use Adobe Premiere Pro, Ultra Key offers the same basic process. Most modern editing applications include some type of chroma key effect.
When green screen is the right choice
I would use this approach when speed matters more than pixel-perfect edges. It is a good option when I am creating one animation, using it only in video, and do not mind a few minutes of keying work.
I would avoid it for an asset with subtle lighting, colored transparency, a large soft glow, or many fine details. I would also avoid it for a website, where a clean alpha channel makes much more sense.
Method 2: Export a transparent PNG sequence
The second approach keeps the animation transparent from start to finish. Instead of exporting one PNG still, I had Claude Design create an extra feature inside the project: a button that exports every animation frame as a PNG.
A PNG sequence is simply a folder full of numbered PNG files. Each file represents one frame. Place the files in order at a chosen frame rate, and they become a video-like animation with true transparency.
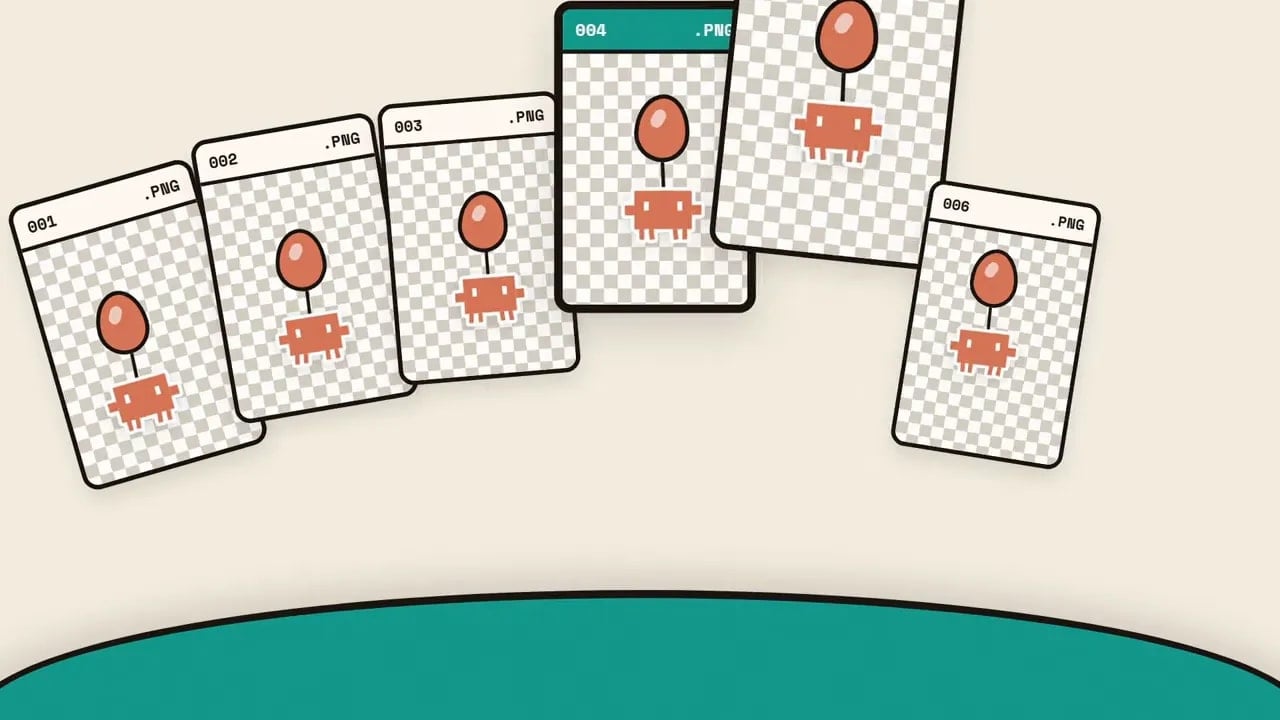
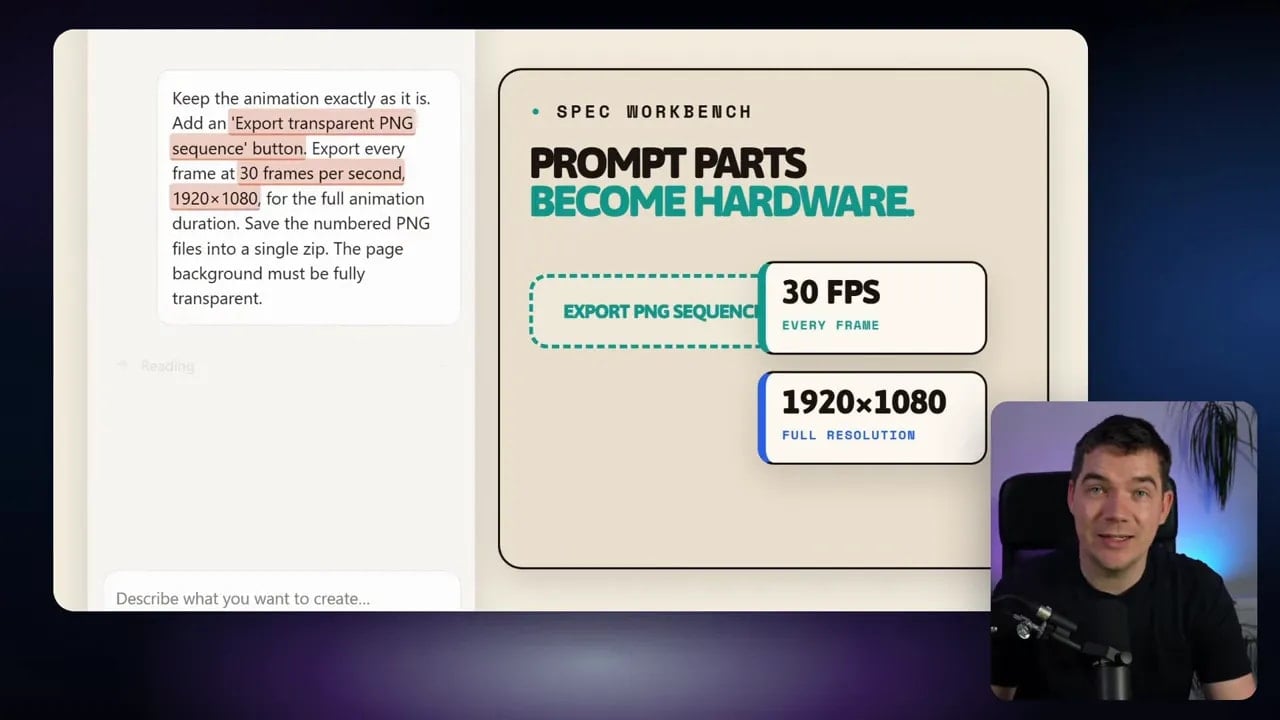
For the five-second animation, I asked Claude Design to keep the original animation exactly as it was and add an export button. The exporter needed to do the following:
- Export every frame at 30 frames per second
- Use a 1920 by 1080 resolution
- Capture the full animation duration
- Keep the page background fully transparent
- Save the numbered PNG files into one ZIP folder
This is a useful example of treating Claude Design as more than a graphic generator. I did not need to settle for the controls already on screen. I could ask it to add a simple piece of functionality to the project.
After the exporter was created, I clicked the new button. The browser generated the frames and downloaded them in a ZIP file. The output contained 146 images. Frame by frame, I could see the character move into place, the balloon grow, the burst happen, and the confetti spread out.
Import a PNG sequence in DaVinci Resolve
What happens next depends on the editing application. In DaVinci Resolve, I opened the Media page and located the folder containing the extracted PNG files.
At first, Resolve showed the images as individual assets. I then changed Frame Display Mode to Sequence. Resolve grouped the numbered PNGs into one clip. From there, I dragged it into the Master Bin and placed it on a track above the video.
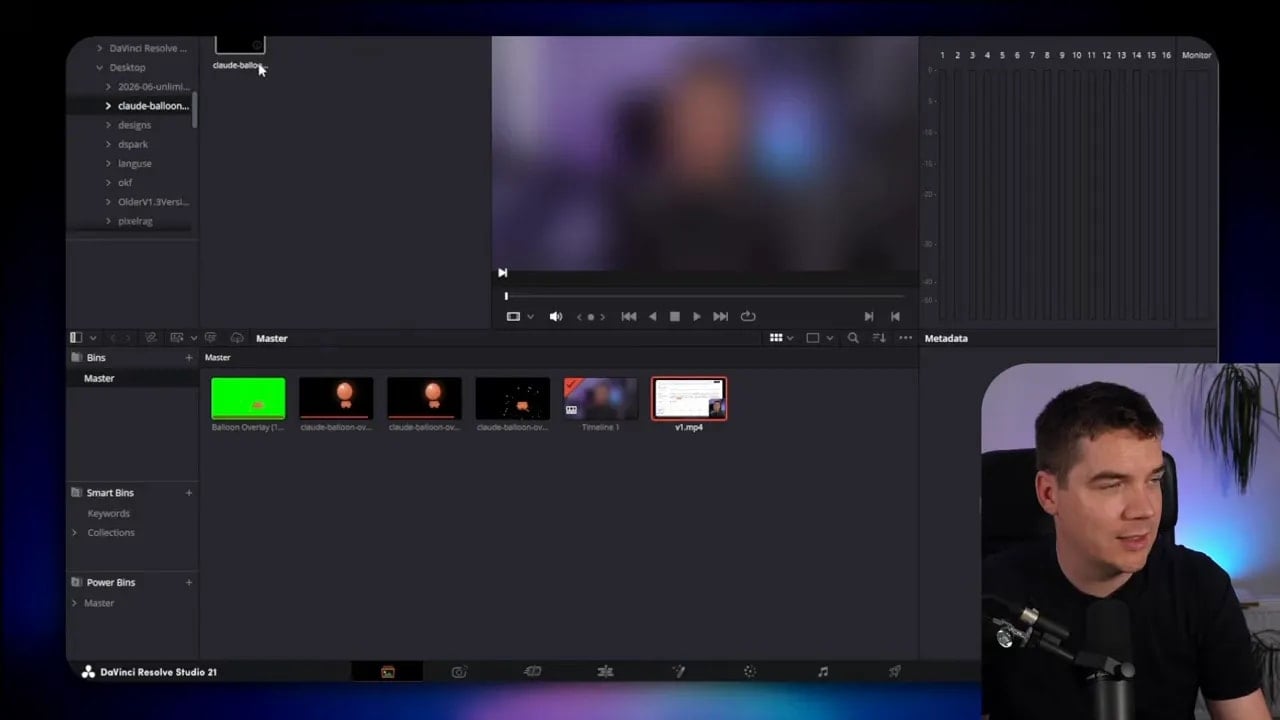
The visual difference was clear. The green fringe disappeared completely. The outline looked sharper, and the glow and soft shadow looked much cleaner over the footage.
PNG sequences have a few advantages:
- They preserve genuine transparent pixels.
- They are sharp and production-ready.
- They avoid chroma key spill.
- They work in editing tools that support image sequences.
They also have trade-offs. A sequence creates many files. It takes a little more effort to import. More importantly, the custom export button is tied to that Claude Design project. It is useful for a one-off, but it becomes repetitive if I need transparent clips frequently.
When a PNG sequence is the right choice
This is an excellent middle ground for a polished video overlay. I would choose it when I need a transparent animation now, I am happy to import an image sequence, and I do not need a reusable video-export system.
It is far better than green screen for shadows, glows, and soft edges. It is also close in quality to the final method.
Method 3: Send the project to Claude Code for real alpha video
For the cleanest and most repeatable workflow, I sent the Claude Design animation to Claude Code. This creates actual transparent video files, rather than a keyed MP4 or a folder of images.
Inside Claude Design, I opened Share, selected More Formats and Apps, and chose Send beside Claude Code. I then selected a local agent and copied the handoff prompt.
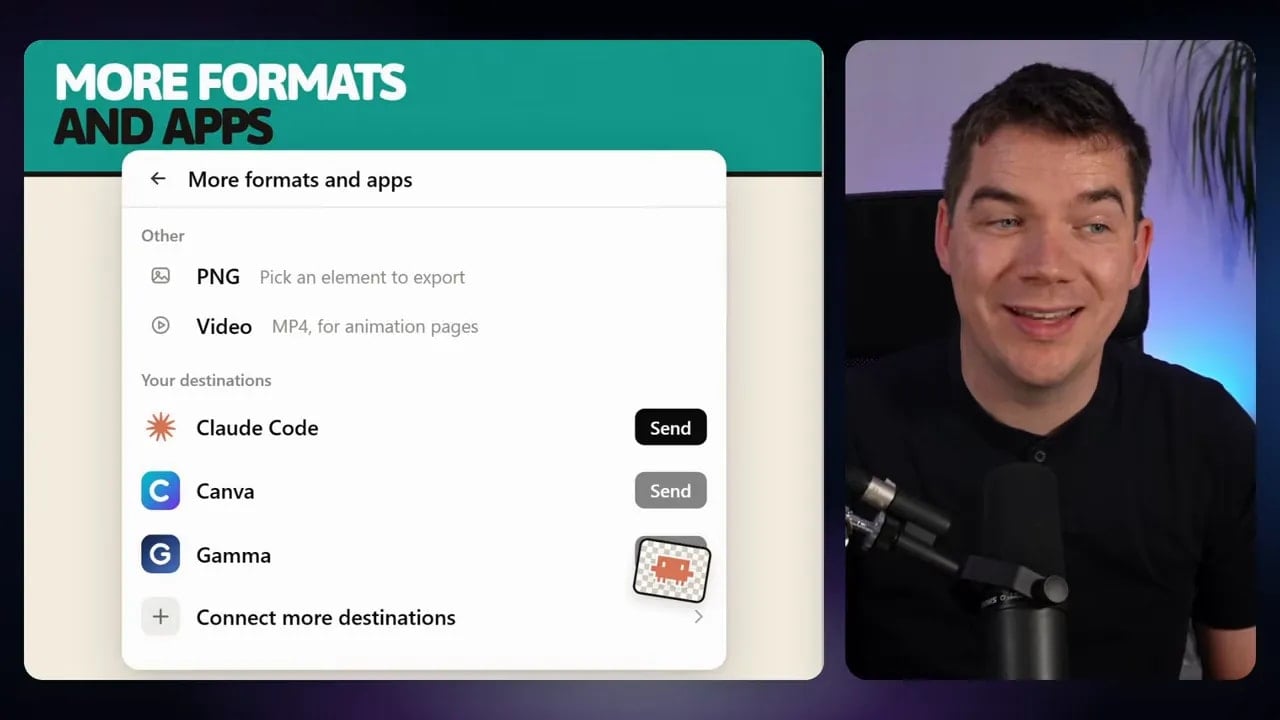
I opened the Claude desktop app, switched to Code, started a new thread in a fresh local folder, and pasted the prompt. That made the animation available inside Claude Code without changing the design itself.
At this point, I gave Claude Code a very focused instruction. I told it not to change the animation. I asked it to render every frame at 30 frames per second, omit the browser background, and create two files:
- A ProRes 444 MOV with an alpha channel for video editing
- A VP9 WebM with alpha for use on a website
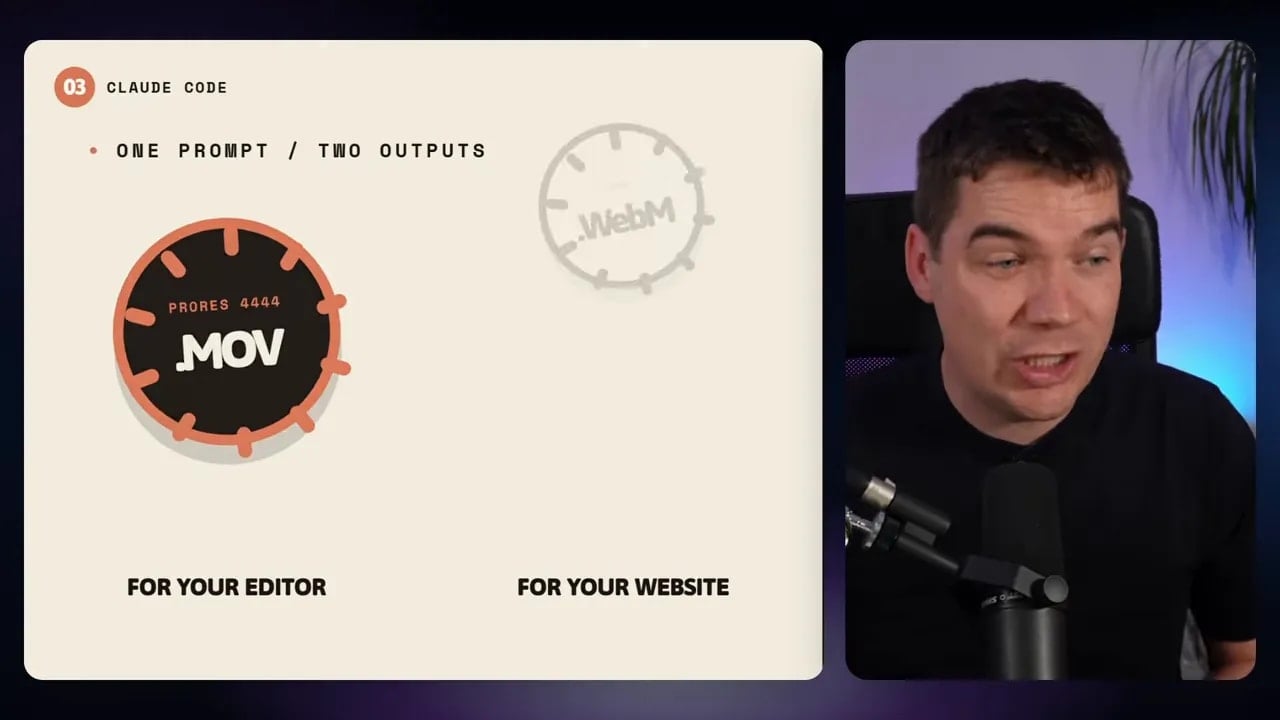
The wording matters here as well. I explicitly told Claude Code to preserve the motion and capture every frame. I also asked for a local export and specified that the browser background should be omitted.
This process effectively turns the animation into a proper deliverable. The MOV file carries the alpha channel for an editing timeline. The WebM version carries an alpha channel in a format that can be used for a website animation.
Why ProRes 444 MOV is the best editing export
ProRes 444 MOV is the strongest result of the three methods I tested. The colors looked a little richer than the PNG sequence, and the glow appeared slightly better. The difference is subtle. Both are ready for production. Still, if I am splitting hairs, the real alpha MOV wins.
The larger benefit is operational. Instead of importing hundreds of frames, I can work with one video clip. I can drop it into DaVinci Resolve, place it above the footage, and get proper transparent edges immediately.
This becomes the clear choice when I create overlays regularly. It gives me a repeatable route from Claude Design to a high-quality alpha asset.
Use VP9 WebM with alpha on a website
The WebM output made it possible to place the same animated character over a website page. The character entered from the bottom, hovered over page content, and retained its orange glow and shadow. That is exactly the type of use case where transparent video is valuable.
I did notice one issue in the test. Because the file was rendered at 1080p, I could see a faint line along the top edge in the website placement. That means I would need to check the canvas boundaries and make sure the asset is fully transparent at every edge before final use.
It is a small detail, but it matters. An alpha channel is only as good as the surrounding pixels in the render. Before publishing, I would test the WebM against both light and dark backgrounds and check all four edges of the canvas.
Could SVG and CSS replace transparent video?
There is another route for web animation. Claude Design can sometimes generate an SVG and CSS version of an animation. That can be useful because SVG and CSS are light, scalable, and easy to place on a page.
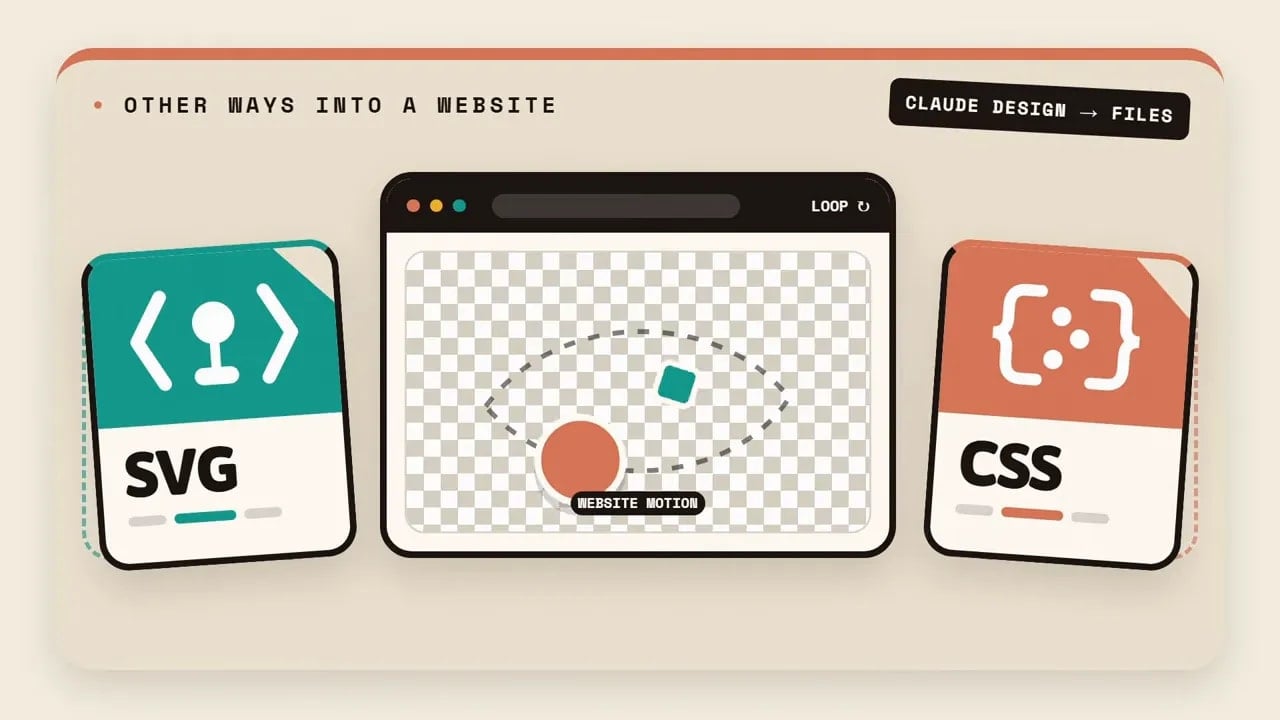
The limitation is complexity. SVG and CSS work best for simple movements and shapes. In my balloon animation, the recreation did not match the original well enough. The balloon string became inconsistent, and the overall motion was less faithful.
For a small icon, a simple product movement, a basic hover animation, or a few geometric elements, SVG and CSS can be a great option. For a character with shadows, glow, a balloon expansion, and confetti particles, transparent WebM is the better fit.
How the three Claude Design transparency methods compare
| Method | Output | Transparency quality | Best use |
|---|---|---|---|
| Green screen | MP4 with green background | Good, but may leave green spill on soft edges | Fast video overlays and one-off edits |
| PNG sequence | Numbered transparent PNG frames | Excellent | Clean video overlays when image sequence import is acceptable |
| Claude Code export | ProRes 444 MOV and VP9 WebM with alpha | Best overall | Regular production work, editing workflows, and websites |
If I need the fastest route, I use green screen. If I need a clean one-off video asset, I use a PNG sequence. If I need the highest-quality result and want a workflow I can repeat, I hand the animation to Claude Code.
A practical prompt structure for transparent motion graphics
Good prompting avoids a lot of repair work later. I keep the design requirements and export requirements separate.
Prompt Claude Design for the animation
- State the duration and aspect ratio.
- Call it an overlay animation.
- Describe the position and movement.
- Specify the main character or object.
- Include timing for important events.
- Request effects such as glow and shadow where useful.
- Tell it that the remaining canvas must stay fully transparent.
- Explicitly rule out backgrounds, frames, or captions.
Prompt a custom PNG exporter
- Keep the existing animation unchanged.
- Ask for an export transparent PNG sequence button.
- Set the frame rate, such as 30 FPS.
- Set the output resolution, such as 1920 by 1080.
- Ask for every frame across the entire animation.
- Request numbered PNG files inside one ZIP folder.
- Repeat that the page background must be transparent.
Prompt Claude Code for true alpha video
- Tell it not to modify the animation.
- Request a local transparent export.
- Ask it to capture every frame at the chosen frame rate.
- Tell it to omit the browser background.
- Request ProRes 444 MOV with alpha for editing.
- Request VP9 WebM with alpha for the website version.
The key principle is simple: specify what must stay locked. If I only ask for an export, the tool has room to make assumptions. If I say the motion, timing, effects, and composition must remain unchanged, I get a more dependable output.
